
 EN-US
EN-US
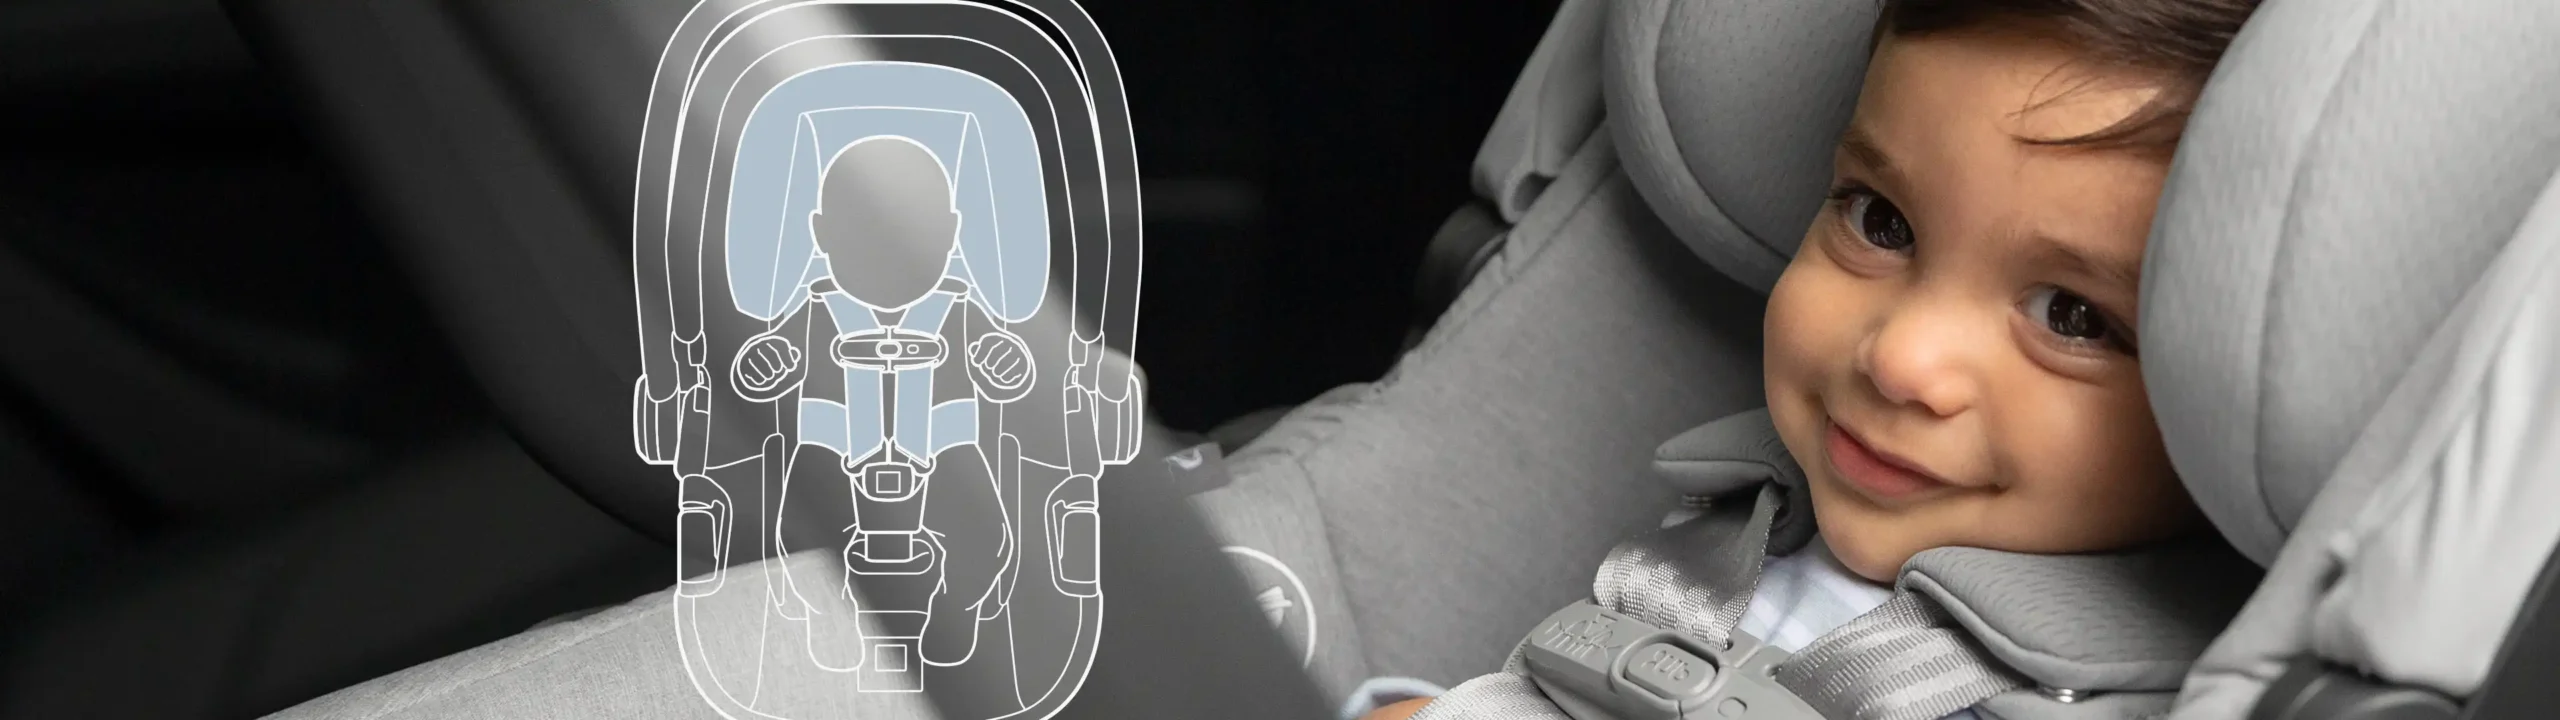
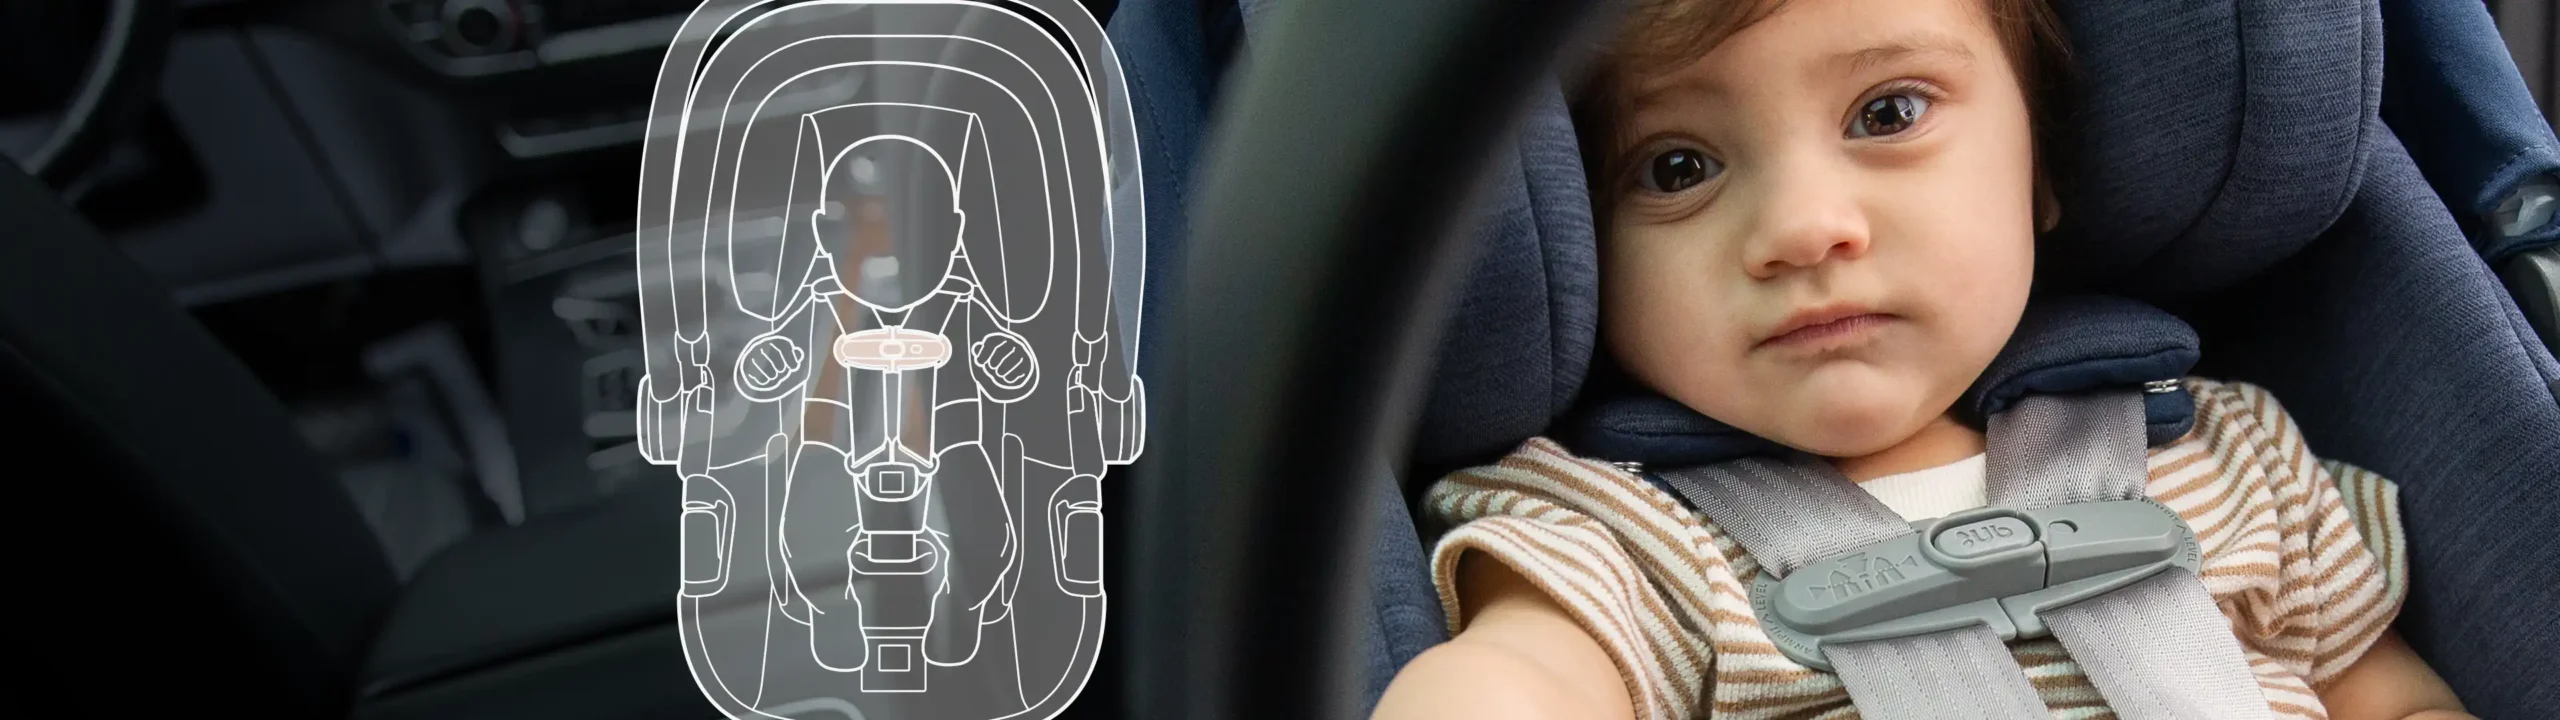
The Right Fit
Infant Car Seat Fit Recommendations
Aria + Mesa V2 + Mesa Max
Feeling lost or confused when it comes to fitting your child in their new car seat? Wondering if your little one is in the right kind of car seat? Not sure what the “pinch test” is? You’re not alone! We’re here for you, so you can be there for your kids.
With the help of a few of our UPPAbaby babies, we’ll guide you through, step by step, so you can identify the proper ways to fit your own child, know when to transition, and feel confident buckling in your little one, from day one.
As a reminder, always refer to your car seat and vehicle manual as your primary source of information. There are many things to consider when placing your child in the right seat. If you have additional questions on child fit, please don’t hesitate to reach out to our Customer Experience team at support@uppababy.com.
Let’s get started!
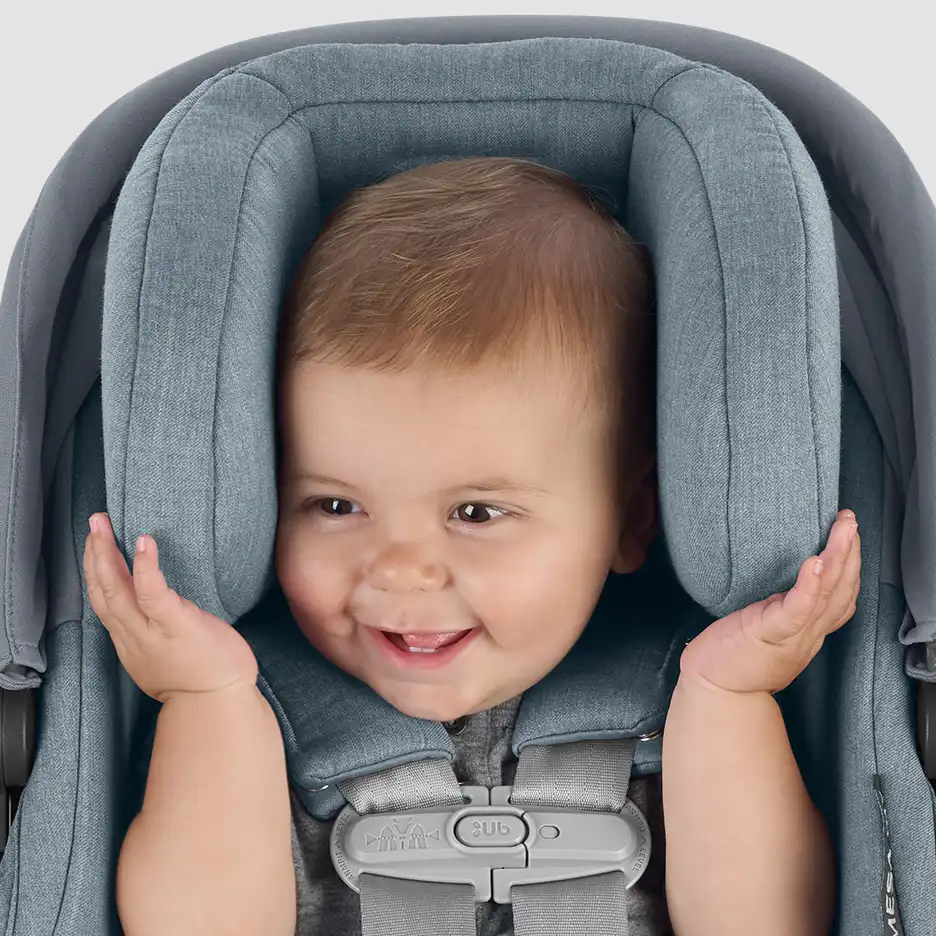
The headrest and harness are interconnected, so when you adjust the headrest, the harness positioning will follow. The headrest should be positioned so that the harness slots are placed at or slightly below the child’s shoulders. The bottom of the headrest ears will appear to be touching the child’s shoulders to ensure proper harness fit. The harness straps should be snug against the child’s shoulders. Conduct the pinch test on top of the shoulders to ensure no webbing can be gathered.
Headrest Positioning
-
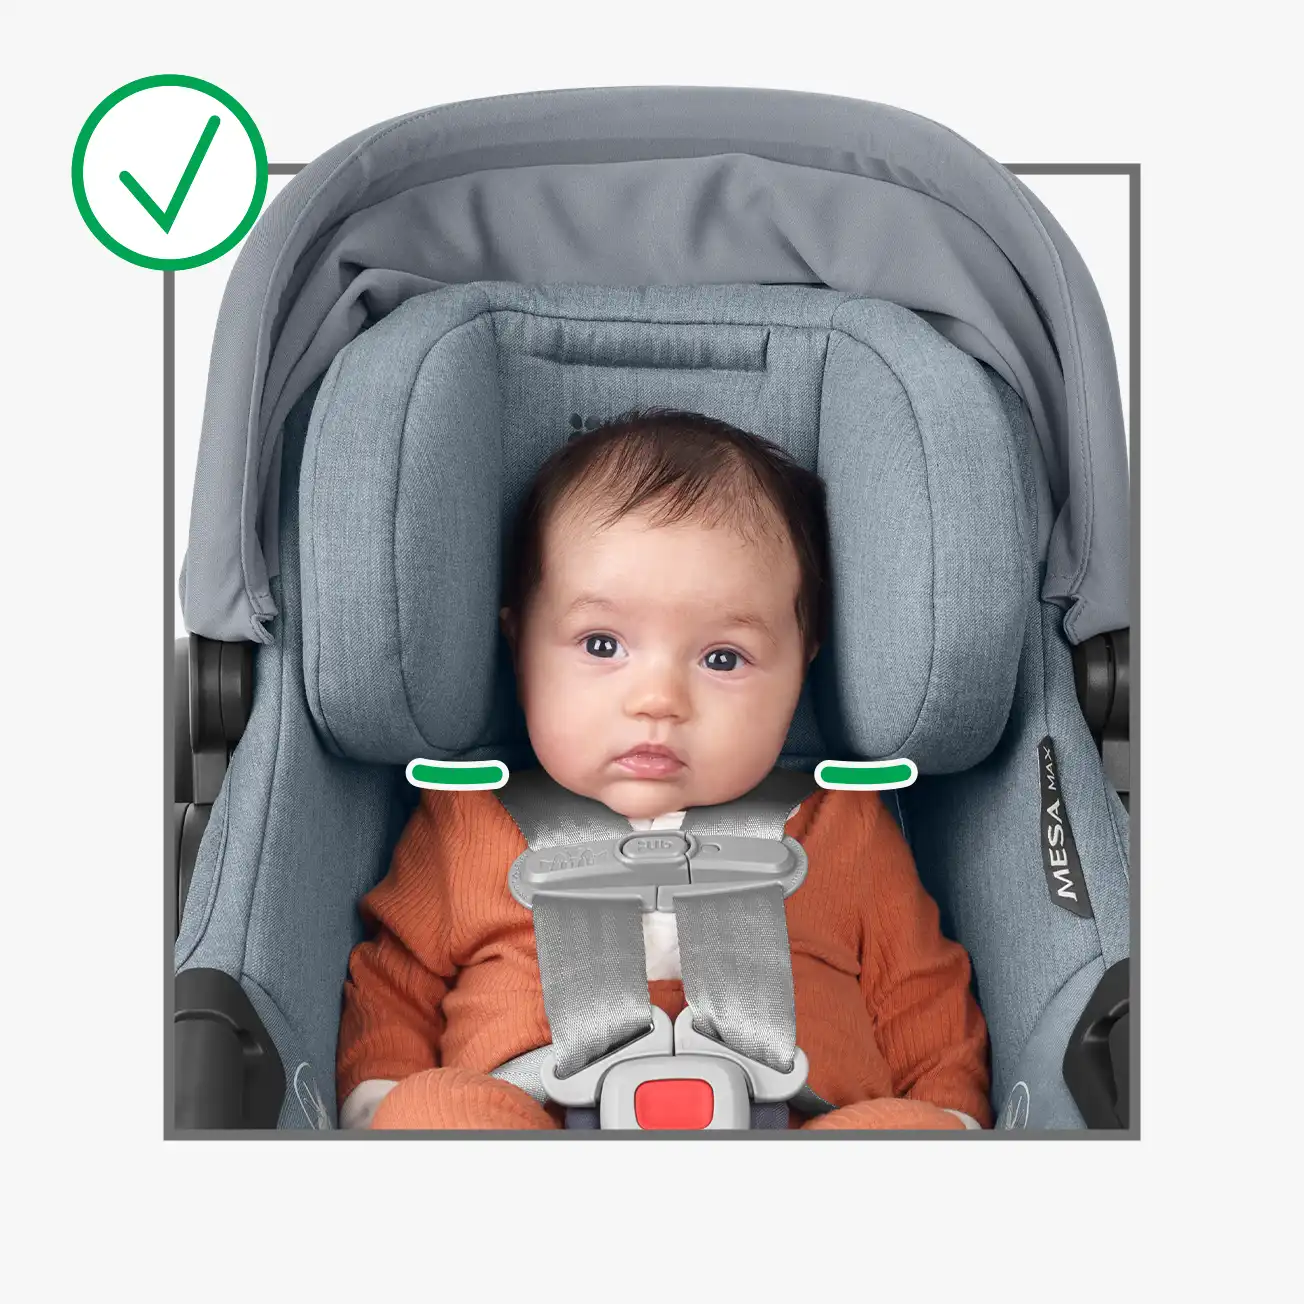
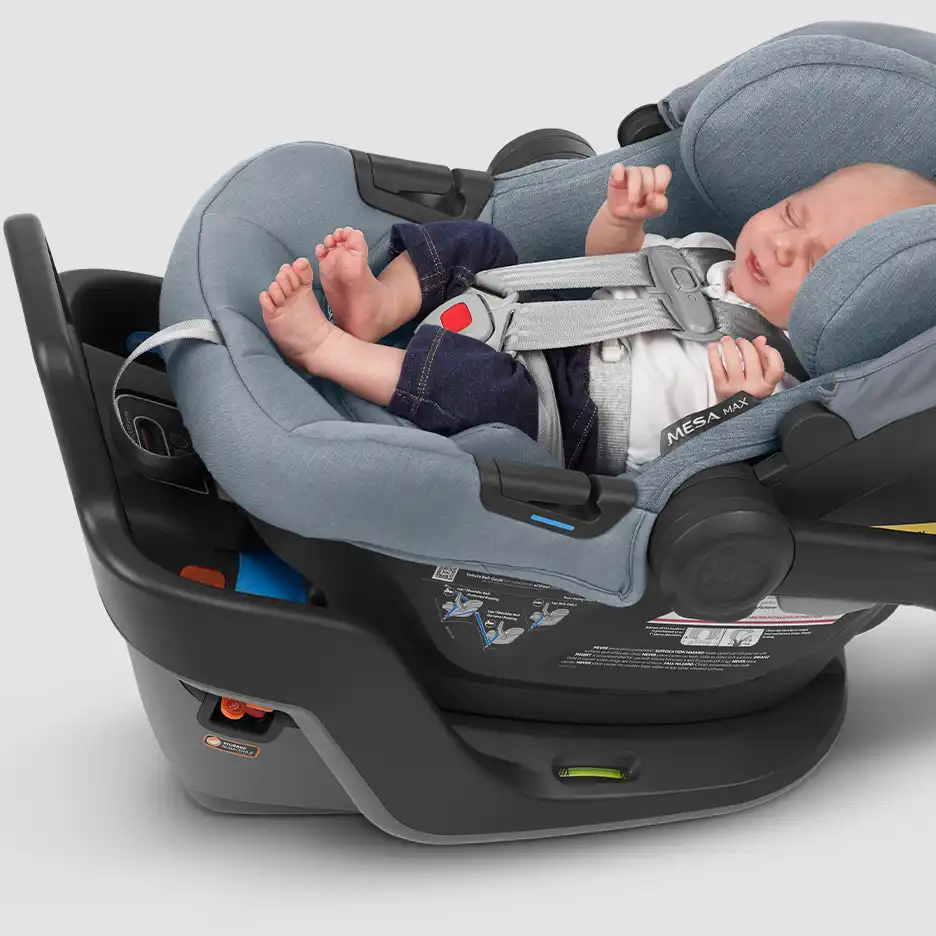
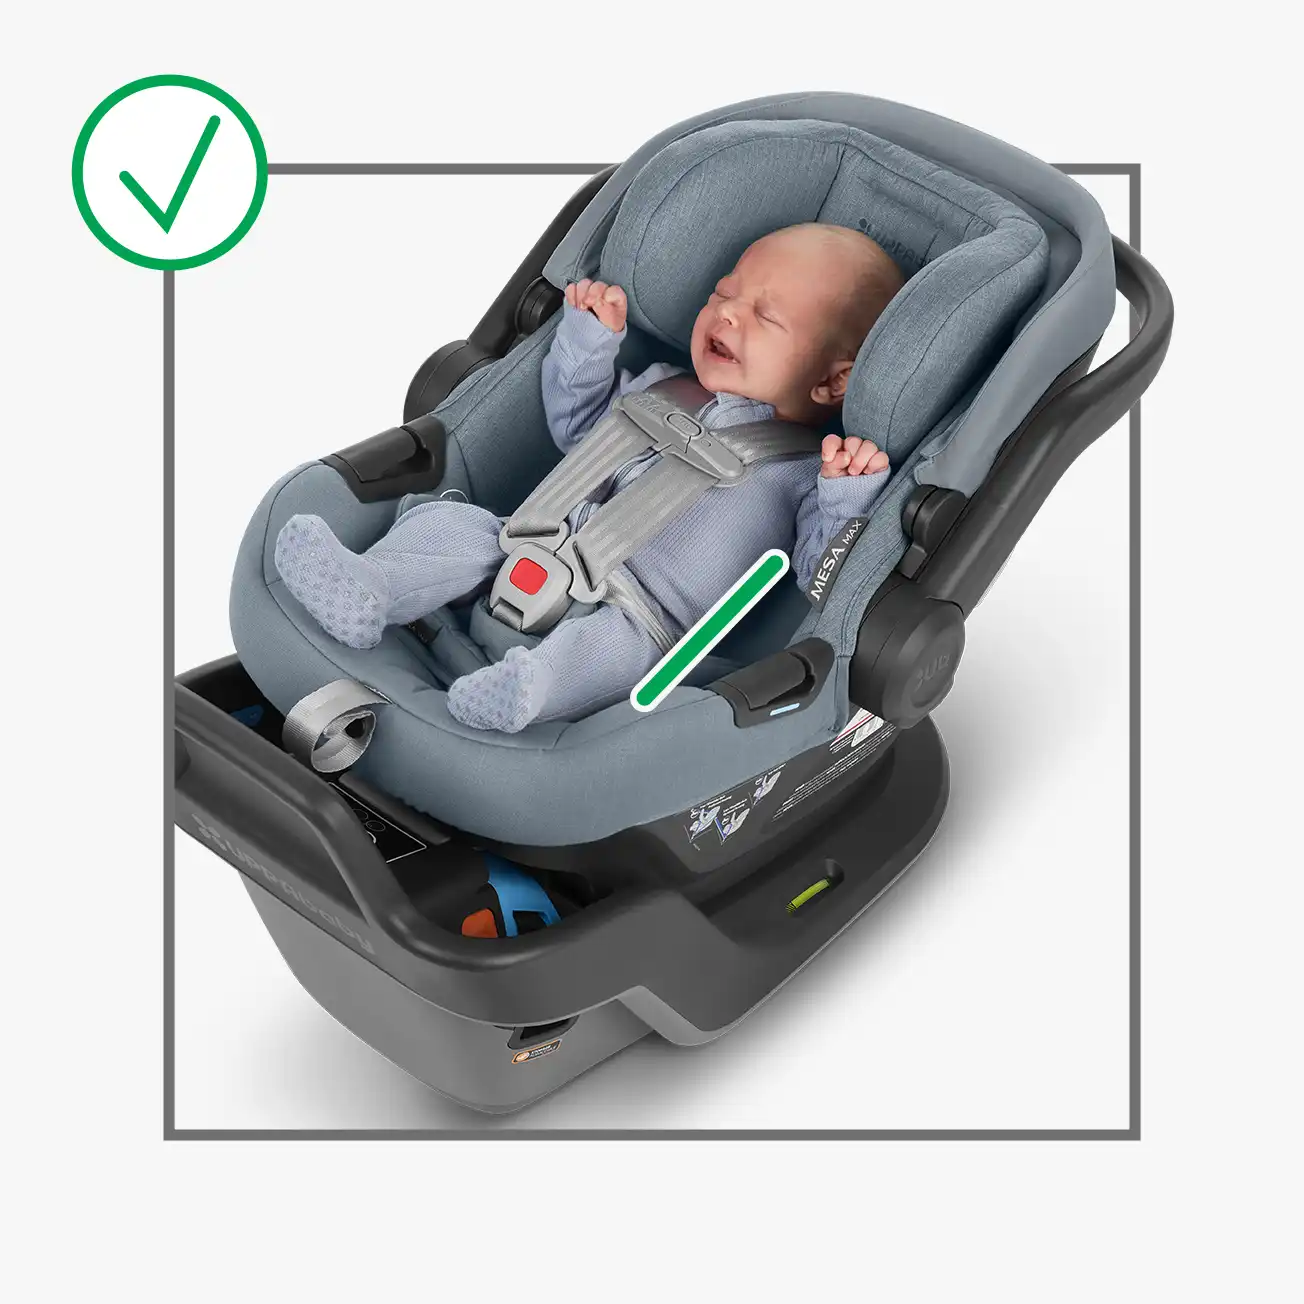
Meet Noah, she is 2.5 months, 23” and 12lbs 10 oz. She is properly positioned in the headrest because the harness straps are placed at or slightly below her shoulders and the top of her head is positioned more than 1″ from the top of the headrest structure.
-
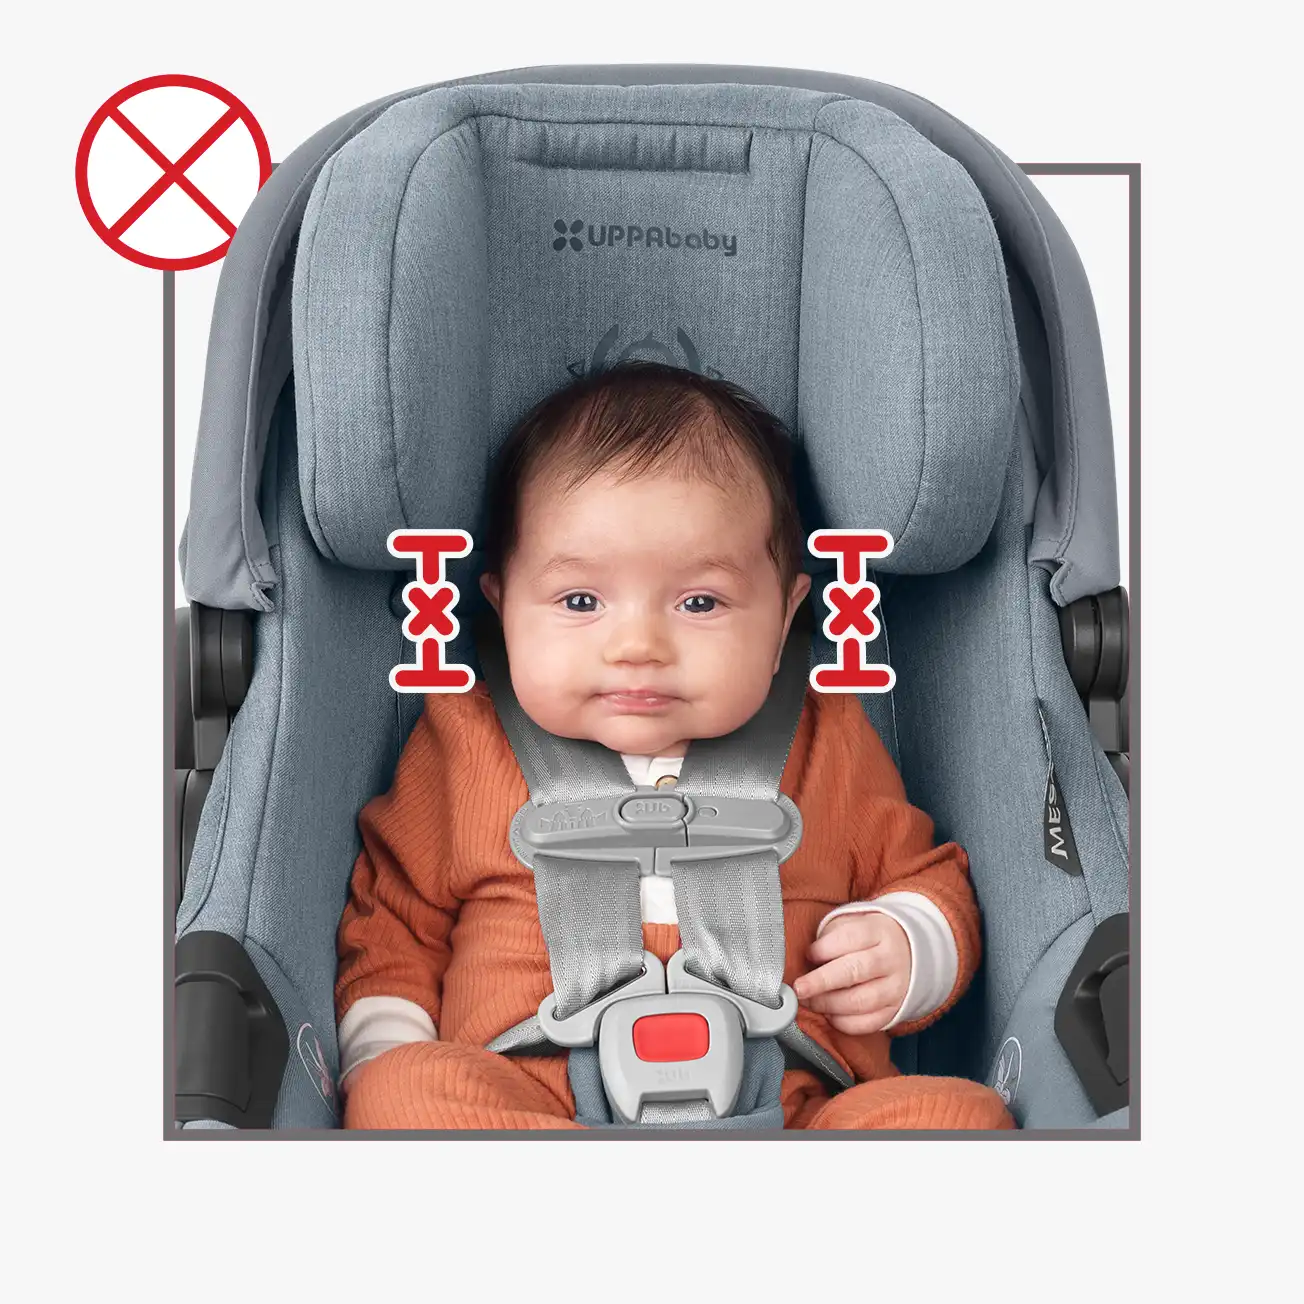
Here Noah is not positioned correctly in the headrest. The bottom of the headrest and harness straps are positioned too high; therefore, the harness straps are above her shoulders, not at or below. When positioned correctly, the headrest should not be more than 1” from the top of her head.
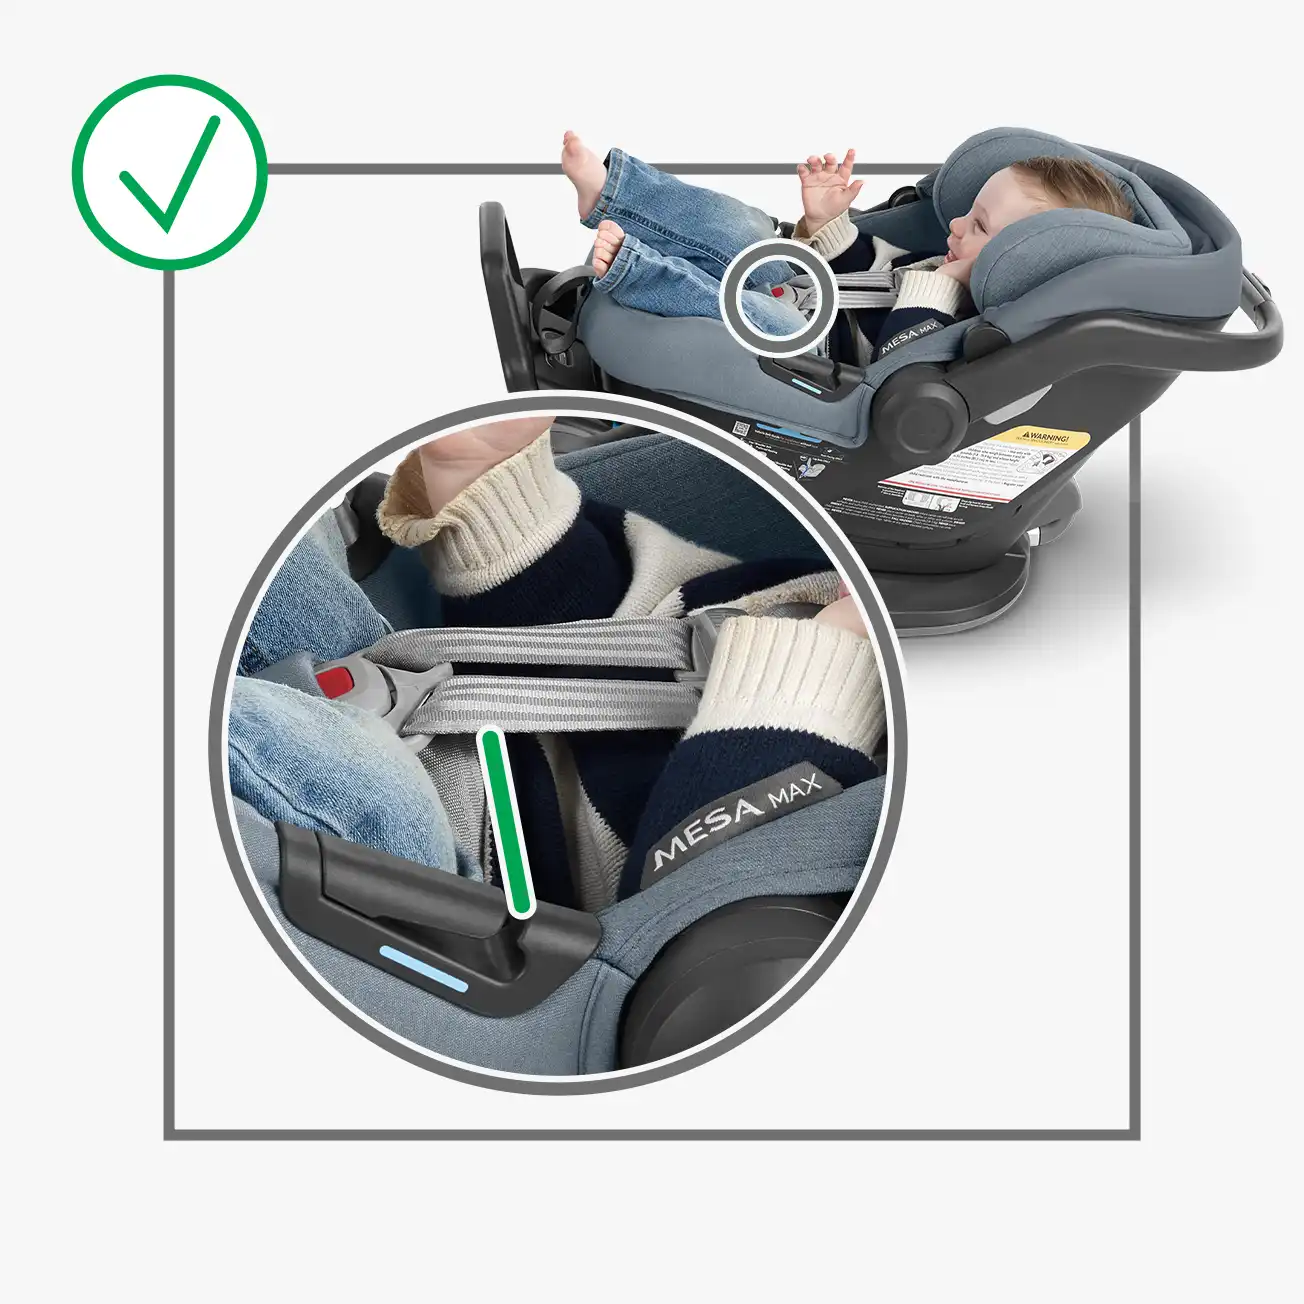
Harness Tightness
-
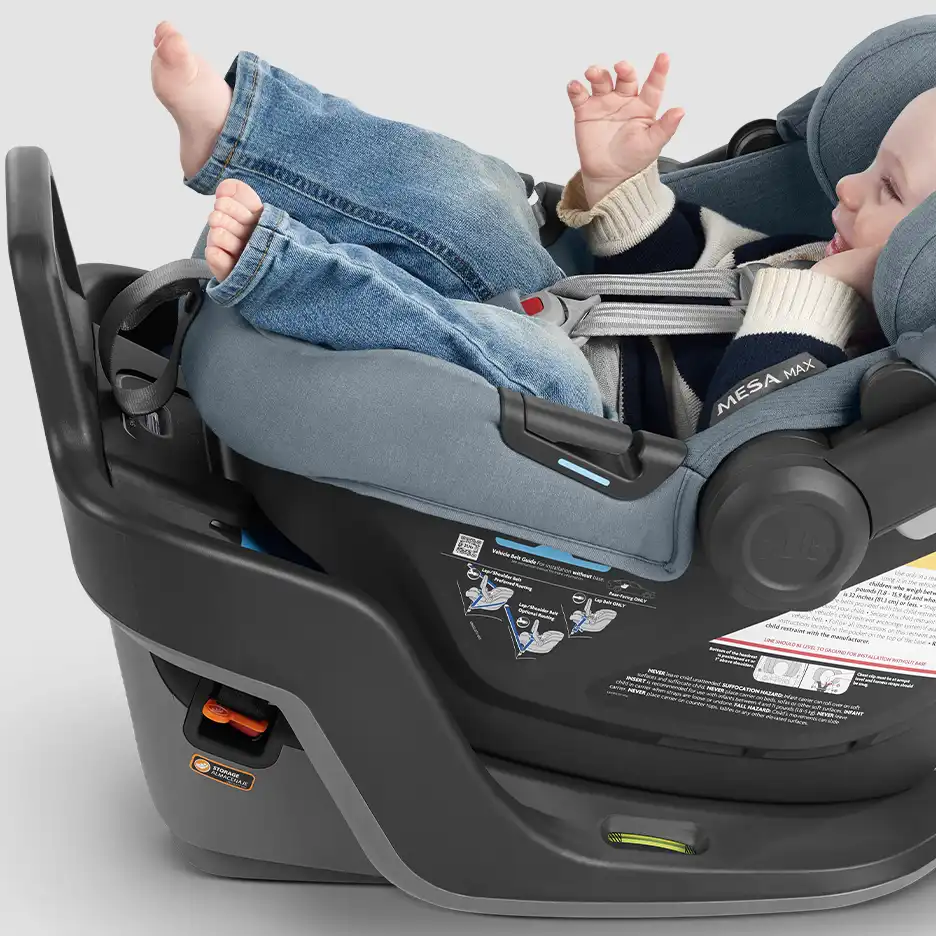
Say hi to Wells! He is 9 months, 27.5” and 17lbs and 14oz and is properly positioned in his car seat as there is no webbing slack around his torso or hip area indicating the harness has been properly tightened. A pinch test is a simple method to double check if you have achieved proper tightening. See the Q&A section below to learn more on how to conduct a pinch test.
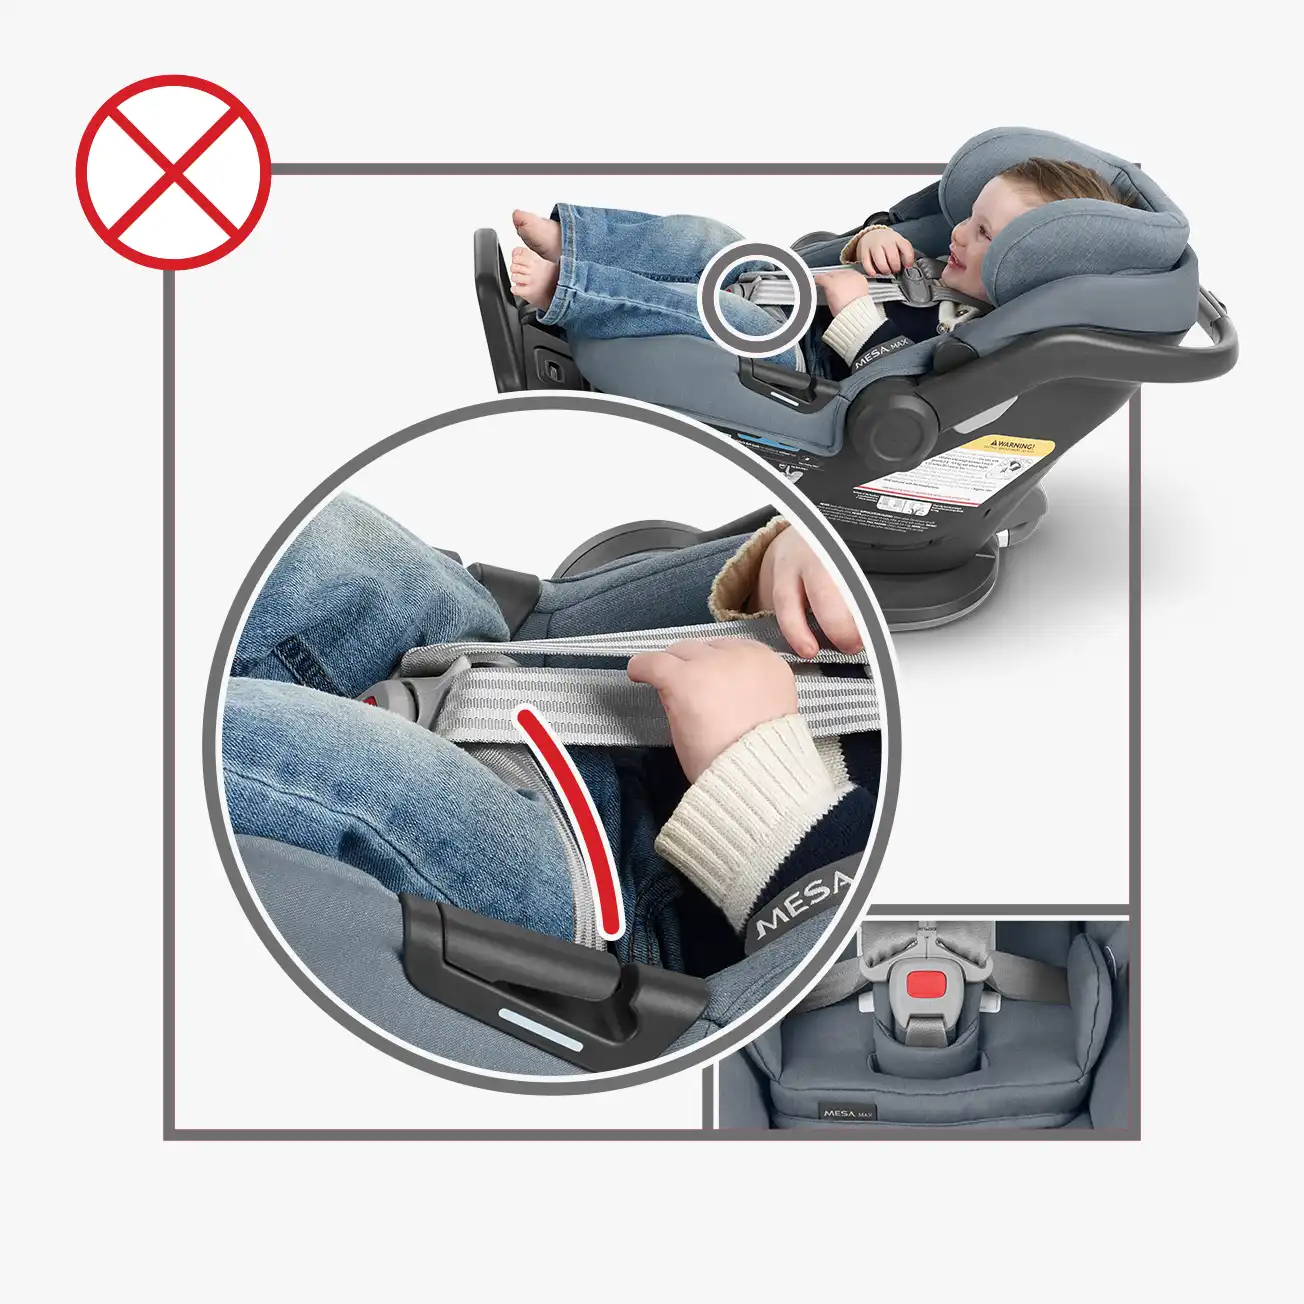
-

In this photo, Wells is not fit properly. The pinch test indicates that too much slack is present in both the torso and hip area. This excess slack needs to be removed, so that the harness straps can be properly tightened on Wells.
Additionally, the chest clip is positioned too low. Please refer to the Chest Clip section for proper fit.


Questions?
We’re here to help – get support from our Customer Experience Team.
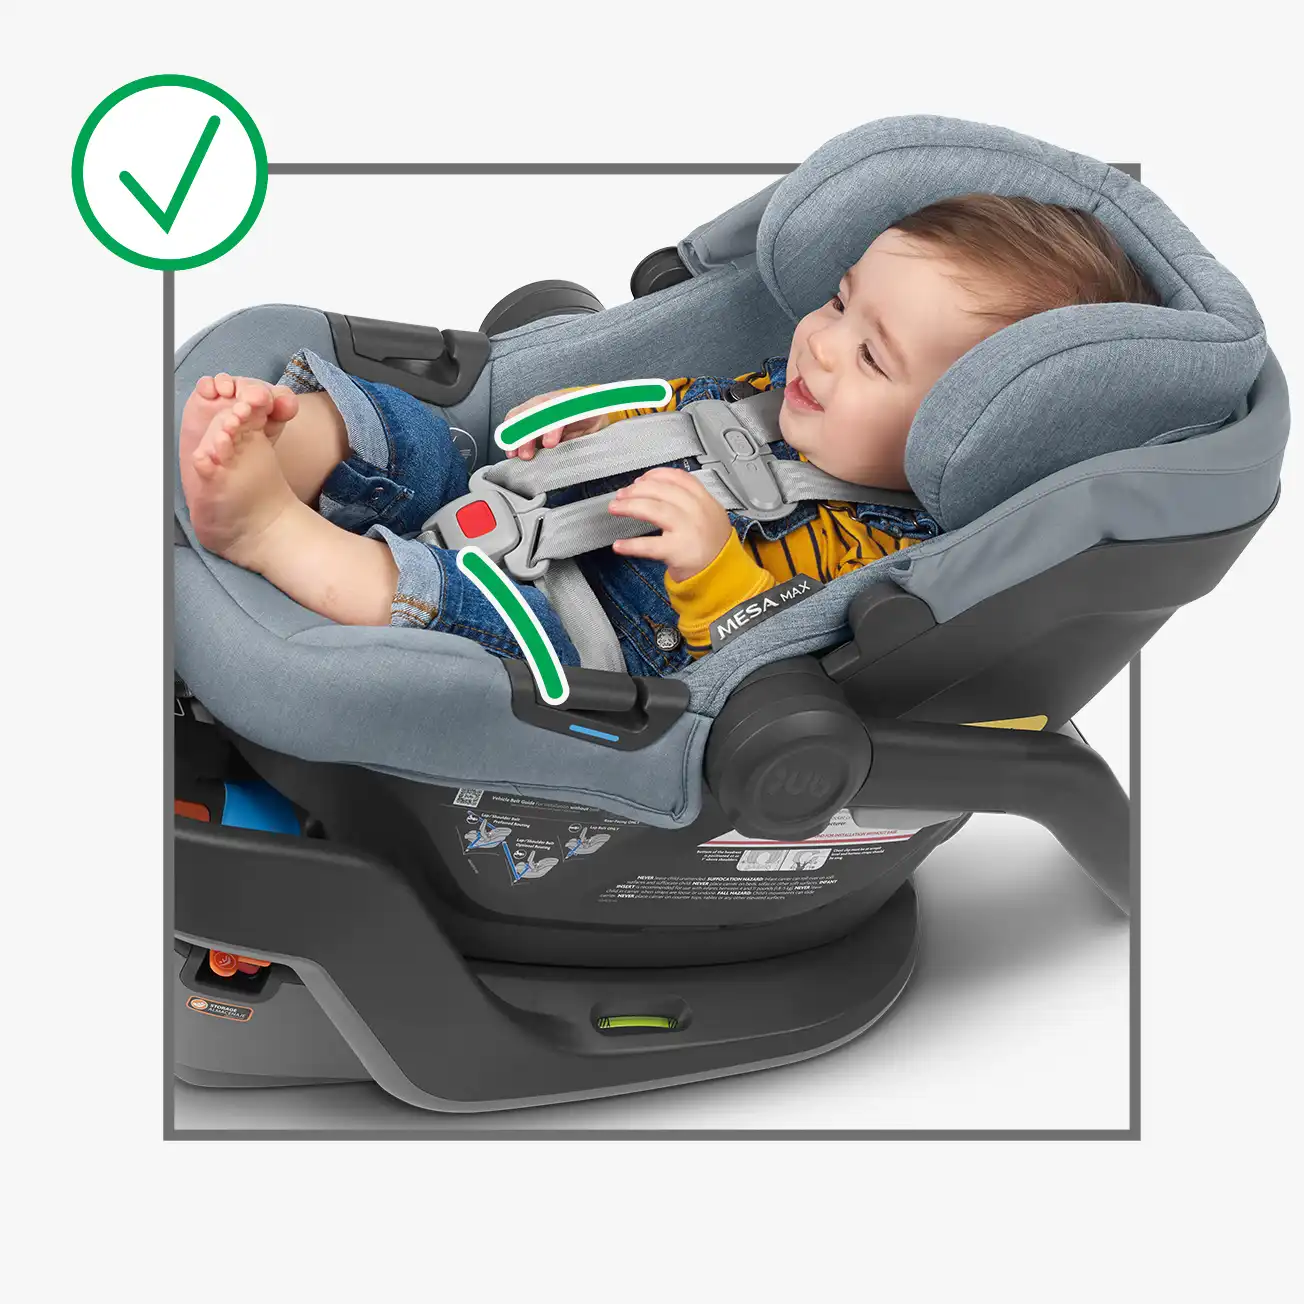
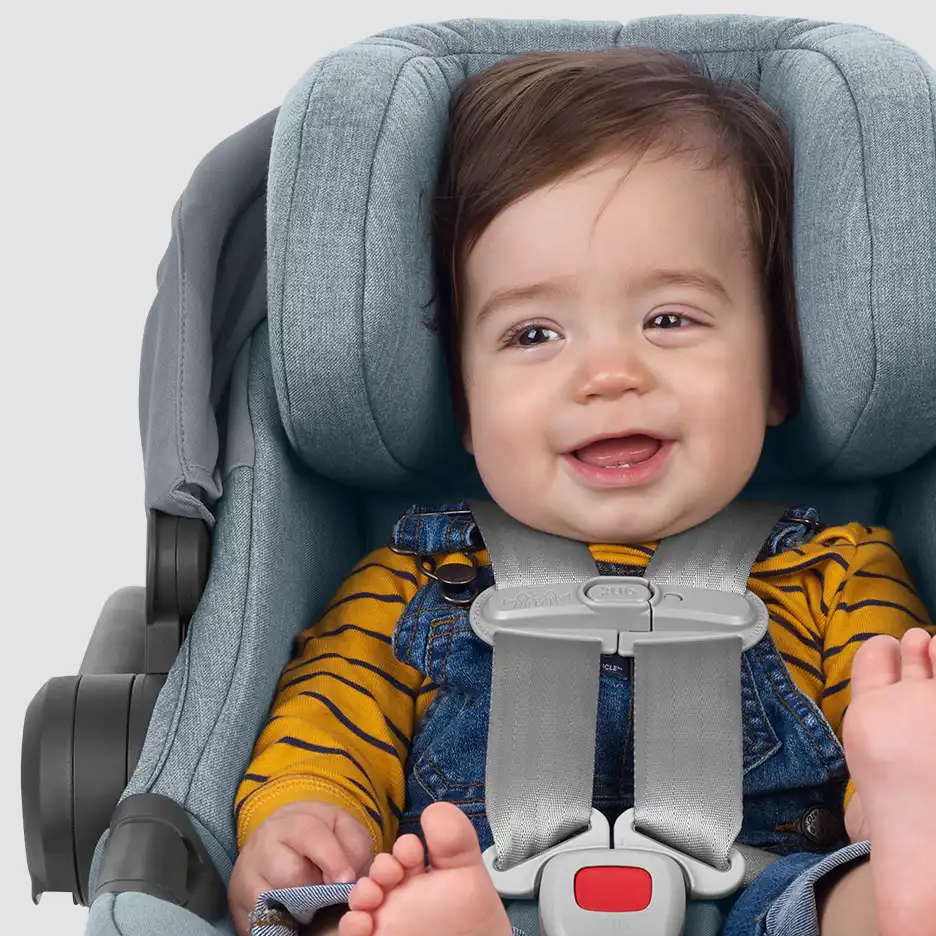
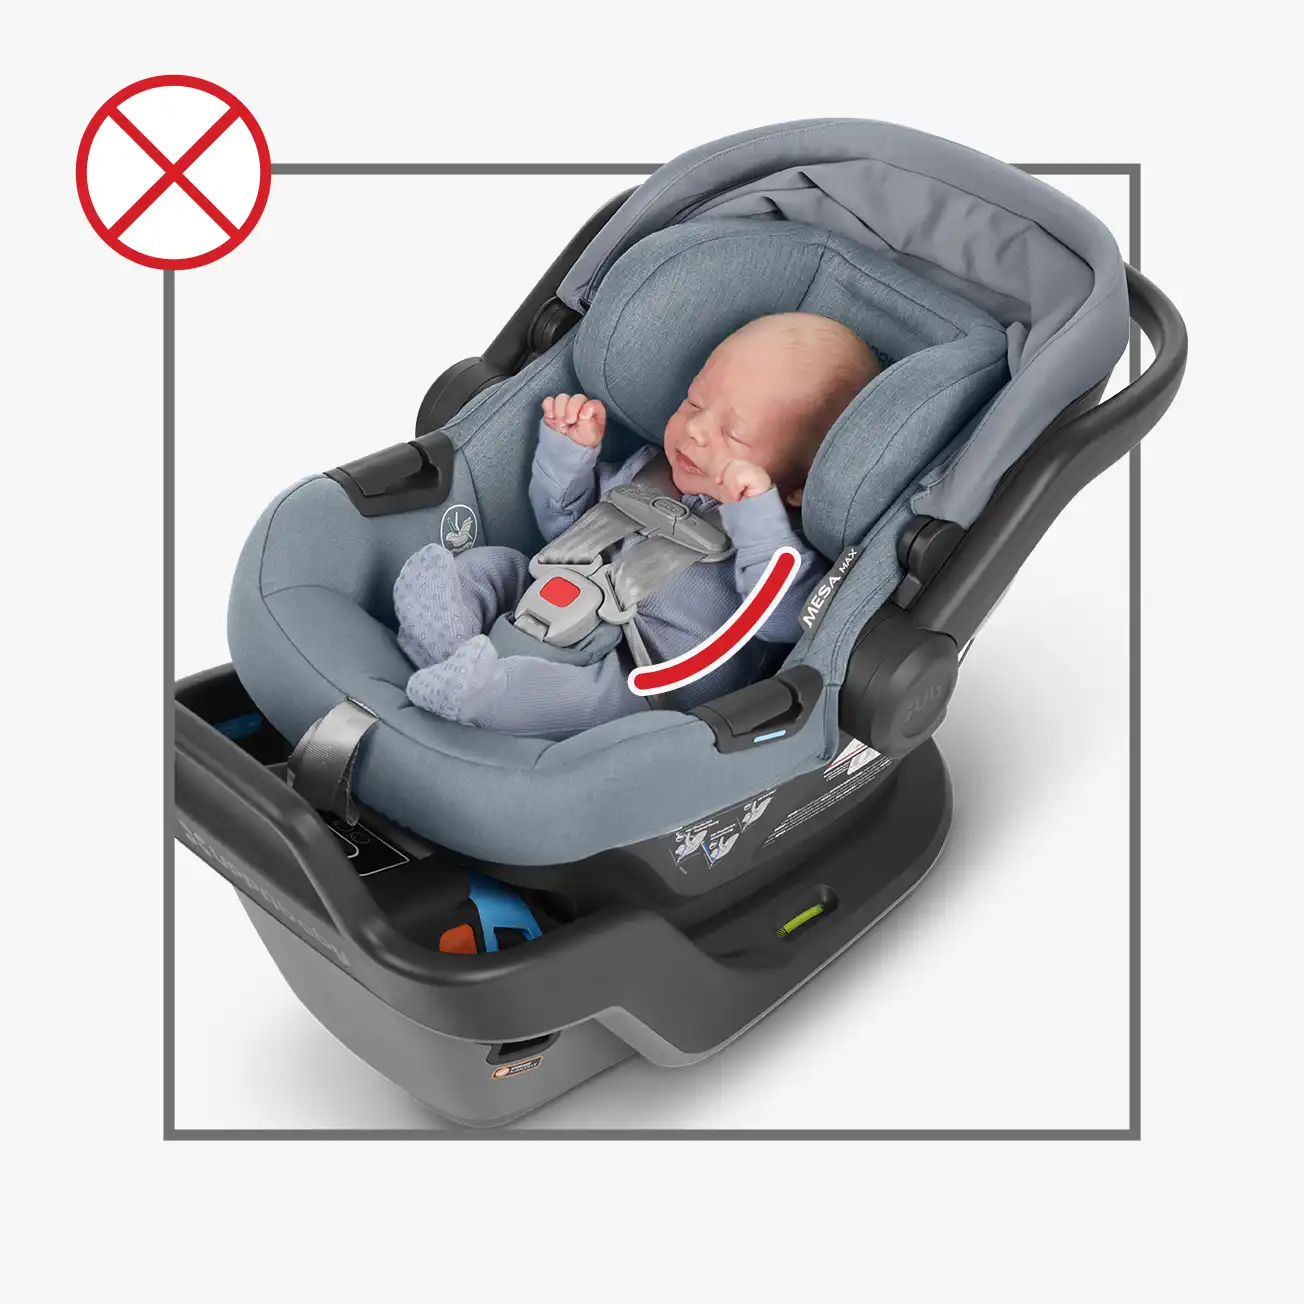
The chest clip must be at armpit level. This ensures that the harness is in the right position should a crash occur.
Chest Clip Positioning
-
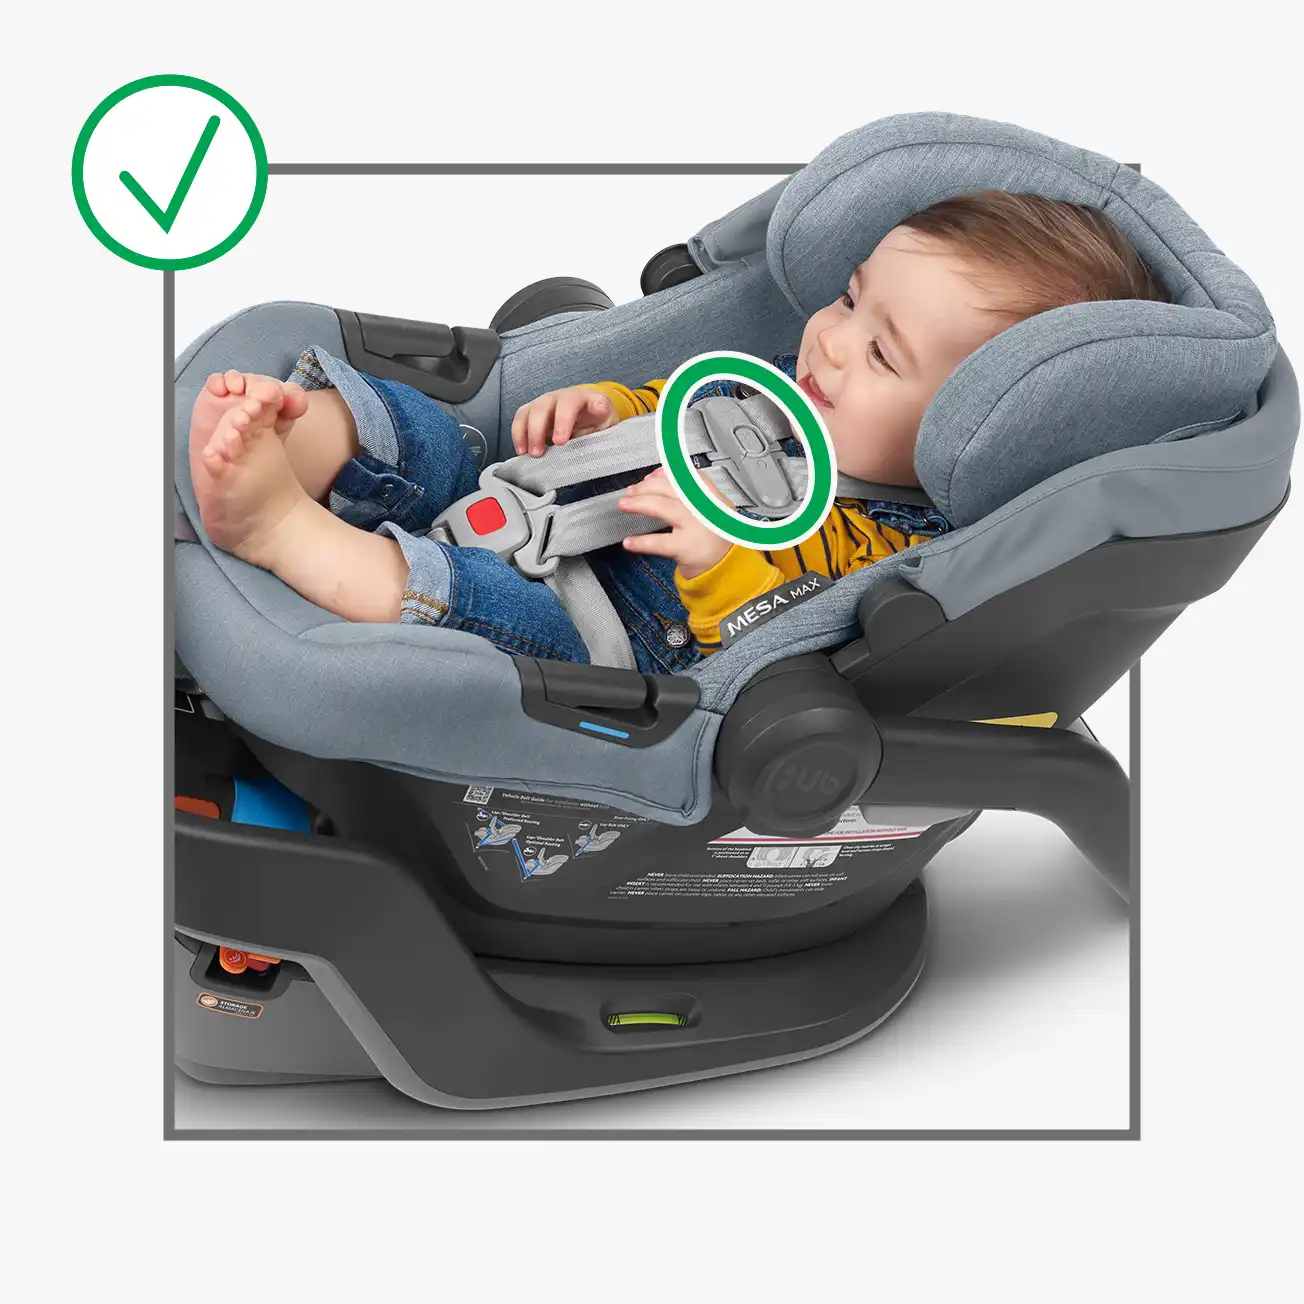
Meet Wells again! He is 9 months, 27.5” and 17lbs 14 oz. His chest clip is properly positioned at armpit level. It is centered on his chest and securely clipped together.
Additionally, the harness is tightened properly.
-
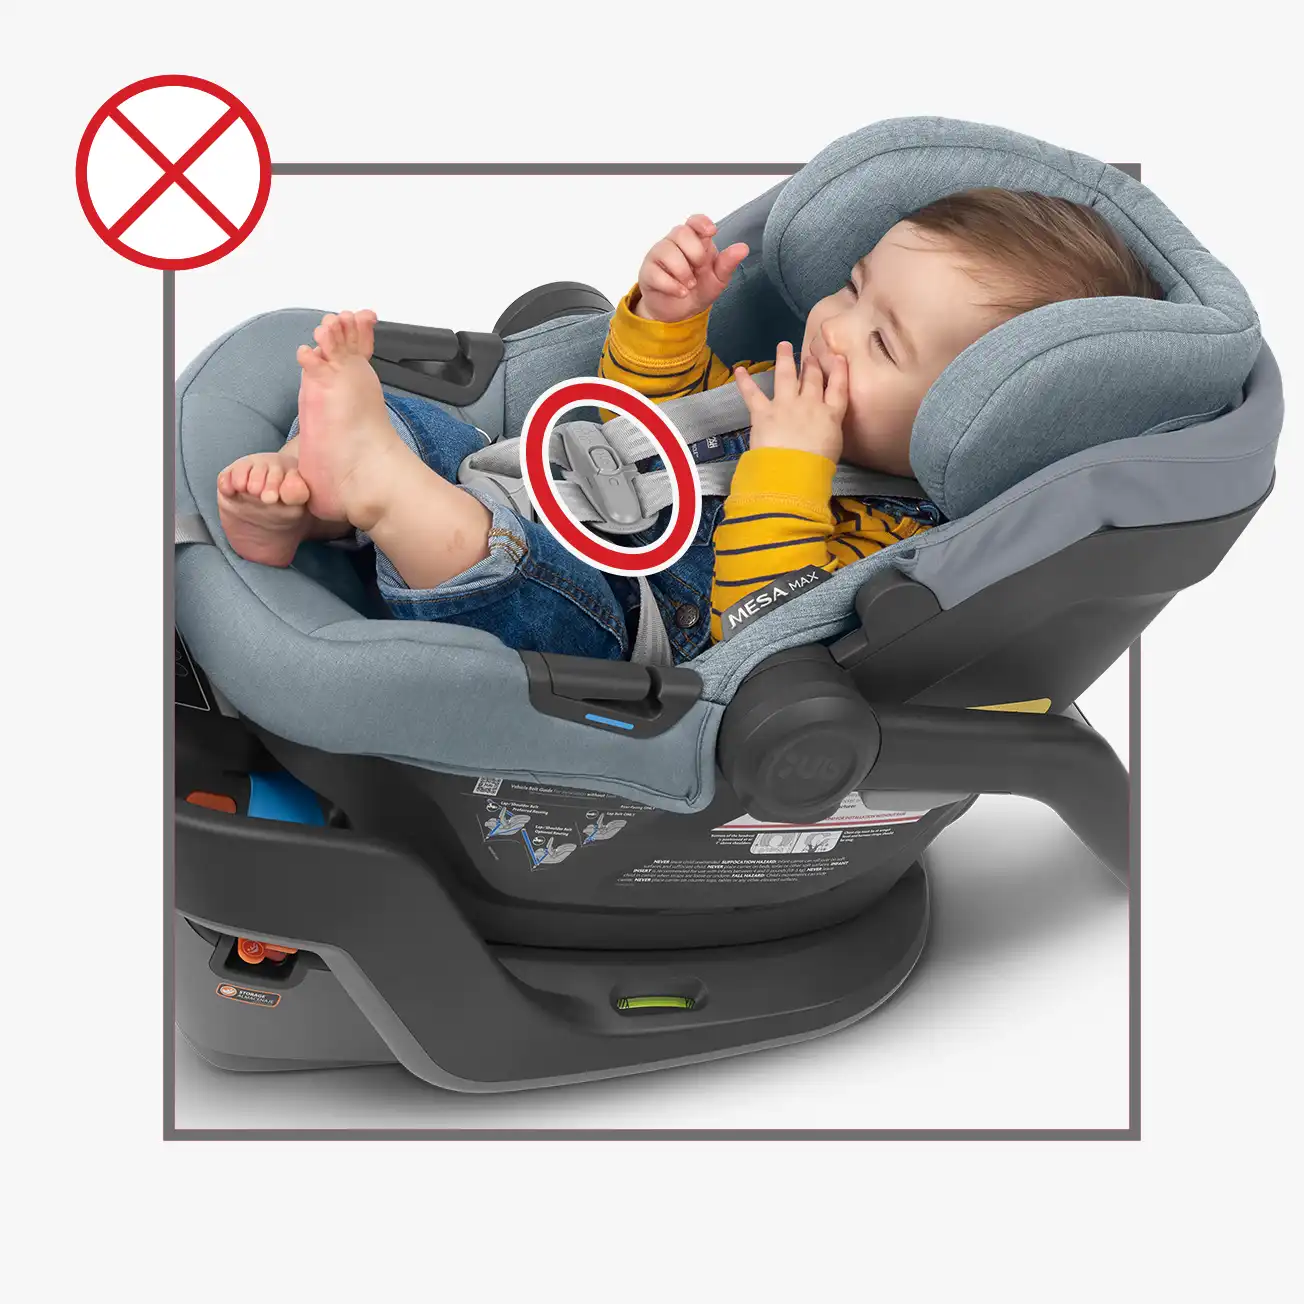
Here Wells’ chest clip is not properly positioned as it is clearly lower than armpit level.
Additionally, the harness is too loose.
Questions?
We’re here to help – get support from our Customer Experience Team.
The crotch buckle should rest securely against the child with no gaps. If gapping is present on smaller infants, a crotch roll is permitted. The child should not be sitting on top of the buckle. The harness straps should be snug around the hips.
Crotch Buckle Positioning
-
Meet Wellington! He is 9.5 months, 29” and 18lbs 13oz. In this photo the crotch buckle is correctly positioned because it rests securely against him with no gaps.
-
Here the crotch buckle is not properly positioned because the infant insert has not been removed from the seat which is causing Wellington to be incorrectly sitting on top of the buckle. Wellington is too big to be using the infant insert.
Questions?
We’re here to help – get support from our Customer Experience Team.
The robust infant insert is designed to provide better fit and body positioning for infants approximately 4-11 lbs.
Infant Insert Positioning
-
Say hello to Ledger! He is 3 weeks, 19” and 8lbs the infant insert is correctly positioned under Ledger, helping to provide better fit and positioning for his 8lb body. In the image, you can see his torso is properly supported.
-
In this photo Ledger is not using the infant insert and thus, he is not correctly positioned because of his small size. At just 8lbs, he should still be using the infant insert to provide better fit and positioning. In the image, you can see his torso is not properly supported.
Ensure Optimal Comfort for Your Child:
We’ve received feedback that some children are not sitting comfortably in the Mesa Max Infant Car Seat after the infant inlay is removed. To improve the fit for a wider range of infants, we are offering a complimentary two-piece foam kit. Sign up here to receive your foam kit and enhance your child’s comfort.
Family, First.
Whether it’s via Email, Text, Call, Live Chat, Video Chat, or Virtual Consultation, our exceptional Customer Experience Team is here to help you all day, every day, in every way. At UPPAbaby, we put you and your family first.
As a reminder, always refer to your car seat and vehicle manual for weight and height requirements. If you’re still unsure or just have additional questions, please don’t hesitate to reach out to our Customer Experience team at: support@uppababy.com!